Ad Hoc Query
All project data and analysis results in the application are displayed in table format. The ability to interactively search and filter the information is an essential part of the application and two complementary functions are provided: a simple search text box and a more powerful row selection query by column filter.
Simple Search
Searching for a specific item in a table is a commonly used function when viewing a data table. The search text box located in the top toolbar of the application provides basic search functionality. As you type, only the table rows containing the entry will be displayed. The search is case insensitive and applies only to id, name, and description fields. Numeric, Yes/No, etc. fields are not searched. It provides a quick and simple way to find specific rows, i.e genes, transcripts, etc. There are some search functionality and behavior you should be aware of:
- The search is only applicable to data tables for subtabs contained in the Project Data Tab
- To search a specific table, first select the table by clicking on any row and then select the search text box and type
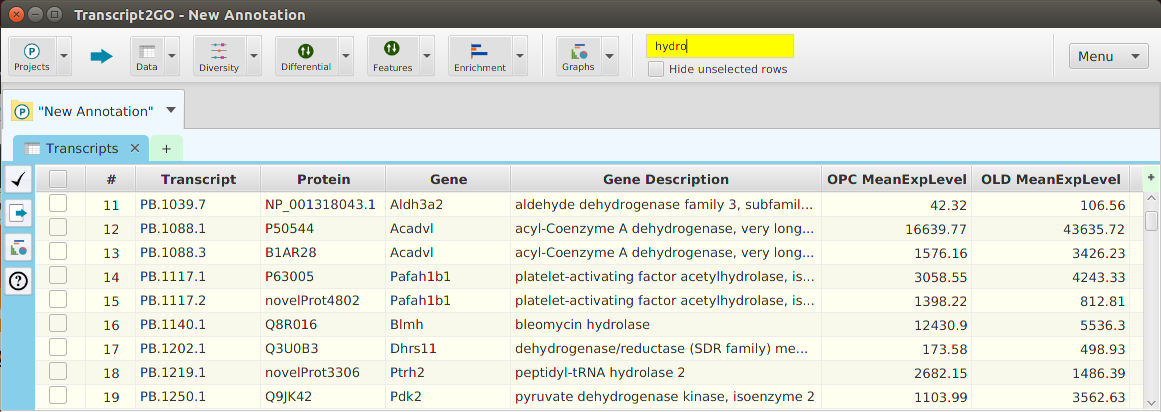
- Rows that contain the typed search text will be displayed, all other rows will be hidden
- Even though there is a single application search text box, the typed search text for each individual subtab table will be displayed when the subtab table is selected
- Notice how the table background changes to yellow when the data display is being filtered – it is intended to make you aware that the data has been filtered
- To undo the search filter, just clear the contents of the search text box for the selected subtab table
Row Selection Query
The row selection query feature, provides a more powerful way to filter table data rows. There are multiple ways to select table data rows:
- Manually by clicking on the corresponding row selection checkbox column, left most table column
- By clicking on the row selection button on the subtab menu bar and then choosing one of the row selection menu items
- By right-clicking on a table column and specifying the filtering criteria for that column
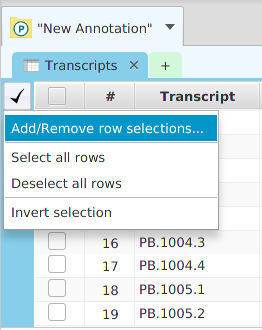
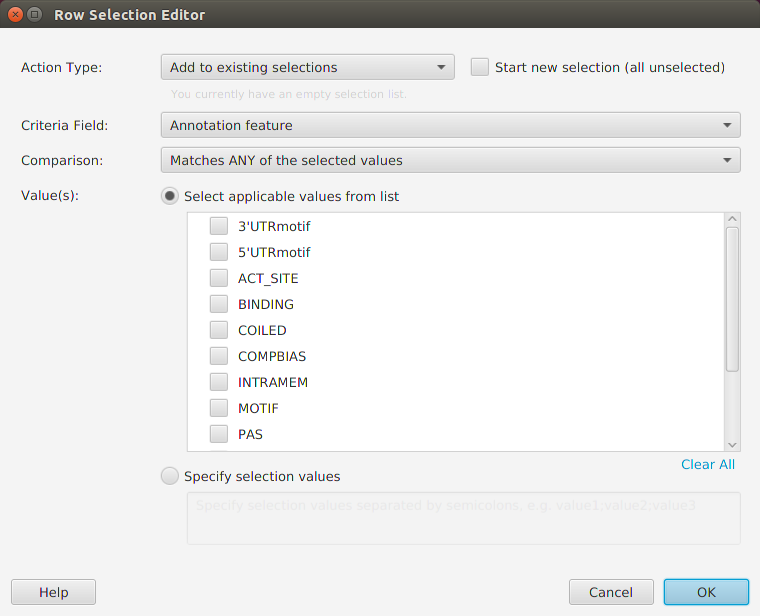
If you choose the “Add/Remove row selections…” menu item or right-click on the table column, you will be provided with a criteria editor so that you may specify the filtering criteria. The filtering options available on the editor will change based on the content type of the column being filtered.
There are some row selection functionality and behavior you should be aware of:
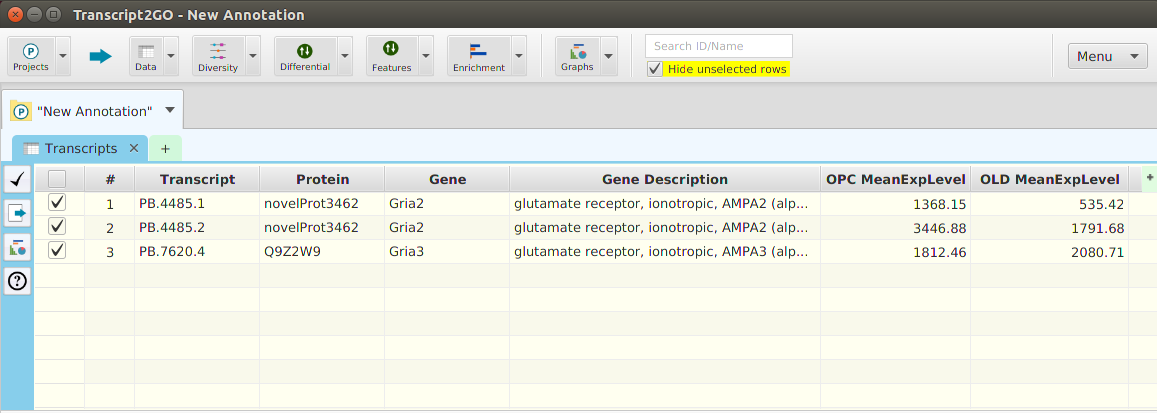
- To only show the selected rows, check the “Hide unselected rows” checkbox located on the top tool bar
- Notice how the table background changes to yellow when the data display is being filtered – it is intended to make you aware that the data has been filtered
- To clear the row selection query filtering, use the “Deselect all rows” menu item selection in the subtab menu bar row selection button
- You may also clear the row selection query filtering by using the table row selection column header checkbox
- You may also display all rows without clearing the selected rows by unchecking the “Hide unselected rows” checkbox